
How to Share VPN Connection on Mac OS
So, you’re here because your streaming device doesn’t support VPN, right? Or maybe, you’re looking for a way to cover your whole house with a VPN connection. Well, you came to the right place. I’ve spent a lot of time sitting under my router for a proper connection. However, now, I know how to turn my Mac into a virtual router. Do you want to learn how to do so yourself? Follow this guide and learn how to share a VPN connection on MacOS.

How to Share VPN Connection on Mac OS
Turn Your Mac into a Virtual VPN Router
Setting up a VPN connection on your Mac is pretty easy. You just have to sign up for a VPN service and download their dedicated application on your Macintosh. However, turning your MacOS into a virtual router is the tricky part.
You see, there are a lot of reasons why you need to do so. First, you might have a streaming device that you wish to unblock restricted content on. Yeah, I know that these devices aren’t natively compatible with VPNs. That’s why you could either install a VPN on your router or share a VPN connection from your Mac. If setting up a VPN on your router is hard to comprehend, let me teach you how to get a VPN connection from your Mac.
But first, you need to know that Macs are pretty limited. Being connected to a Wi-Fi network doesn’t allow you to share one concurrently. However, you can do so if you connect the device to a Wireless adapter or directly to the internet with an Ethernet cable. Once you pick one of these methods, follow the steps below.
- Depending on your choice, do the following:
- Insert the Wi-Fi adapter in your Mac.
- Connect your Mac with Ethernet.
- After that, head over to “System Preferences”.
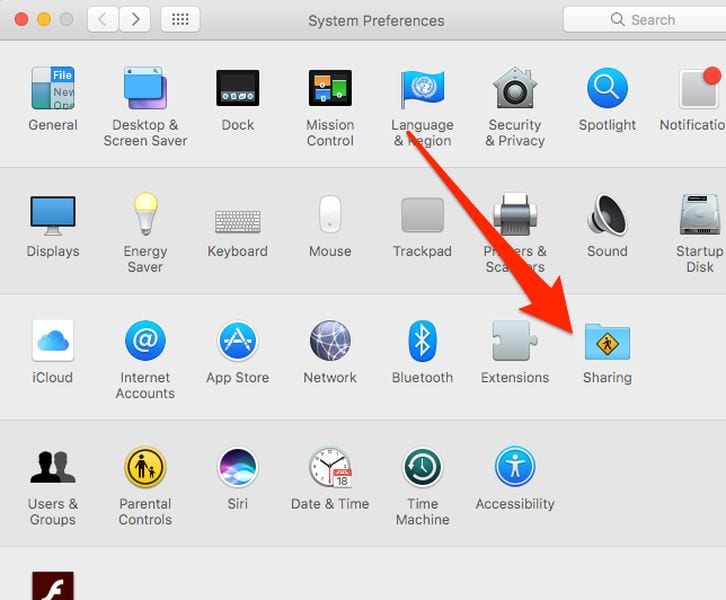
- Now, choose “Sharing”.
- Select “Internet Sharing”.
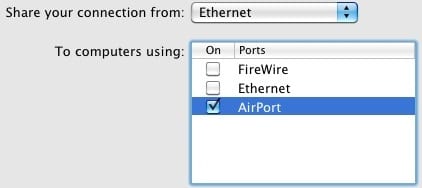
- Tap on “Share your connection from:” and choose [the L2TP VPN connection you have enabled].
- After that, pick what devices you want to connect next to “To computers using:” select “Ethernet or Wi-Fi”. according to your initial choice.
- Click on “Wi-Fi Options” and submit the details of your shared connection.
- Hit “OK” and tap on “Start”.
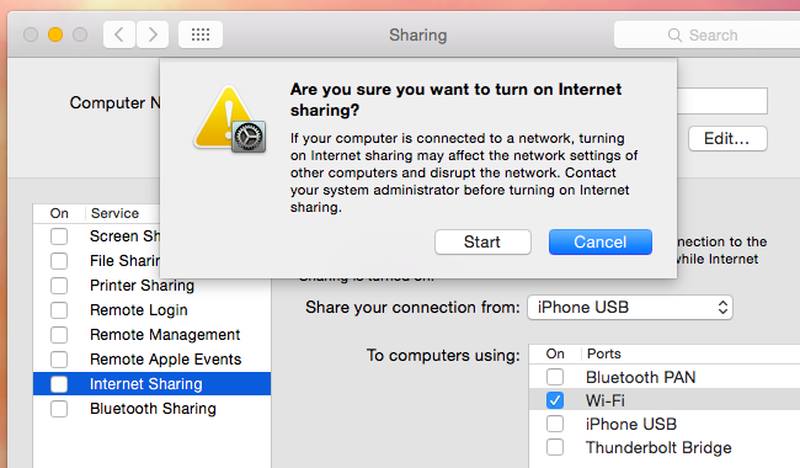
- You’ve successfully shared a VPN connection through your MacOS.
Best VPN Service for Mac VPN Connection Sharing
VPNs have a lot of benefits for everyone who’s connecting to the internet. I use VPNs all the time, especially when I’m browsing the web. It provides my activities with complete anonymity and the latest military-grade encryptions for ultimate security.
I don’t browse fearing the fact that someone is spying on me anymore. I have a hidden IP address and I can roam the web anonymously without having to look over my shoulder all the time.
I’m not here to gloat about my internet experience, I’m just showing you what you’re missing if you don’t make use of a VPN. If you’re convinced, let me show you what to look for in a VPN before you invest in one:
- Servers: When you subscribe for a VPN service, make sure it covers a lot of countries in its server network. Otherwise, you won’t be able to unblock certain streaming services and websites.
- Speed: There are VPN providers that offer more than 5000 servers around the world. However, I tested their servers and they’re pretty slow. That’s not a good thing when you’re choosing a VPN. Pick one with fast speeds if you’re an avid streamer or gamer.
- Chat Support: The VPN you decide to use must have a reliable chat support team that can solve your problem at any time. Make sure they include live chat in their services so that you get your issue taken care of on the spot.
- Zero-Traffic-Log: A credible VPN adopts a strict no-log policy. That means the company doesn’t collect your data and store it for future use. It’s very critical to use a VPN that allows this service especially in countries where the government interferes a lot in a VPN’s business. That includes the US, UK, New Zealand and more.
- VPN-Alternative: Smart DNS Proxies have a huge impact on unblocking restricted channels. Unlike VPNs, they cover all devices including the likes of PlayStation, Xbox, Roku, Apple TV, and Chromecast. They can also be set up on routers. However, this service is only for bypassing regional restrictions, you won’t be getting the extra layer of security as you do with a VPN.
On my Mac, I use ExpressVPN. It has a very user-friendly interface and you don’t need to be tech-savvy to navigate at all. To add a cherry on top, ExpressVPN offers a 30-day money back guarantee in case its service didn’t live up to your expectations. That said, take a look at other best VPNs for MacOS in the table below.


- Best for streaming and privacy
- High speed servers in 160 VPN locations
- Works for Netflix, BBC iPlayer, Amazon Prime Video, and Hulu
- 24/7/ live chat support
- 3 extra months free on annual plan


- UltraHD streaming
- Free Smart DNS proxy
- Unblocks all major streaming services
- Limited Time 72% Discount


- Unlimited VPN connections
- Over 1000 servers
- Ad-blocking feature available

- User-friendly application
- Exclusive Smart VPN feature
- Standalone Smart DNS subscription available
- Extra security features
- Extensions for Firefox and Chrome
- Split-tunneling available
How to Share VPN Connection on Mac
See? Sharing a VPN connection is not that hard if you have a comprehensive tutorial to guide you through it. Now, all that’s left is to pick a VPN service to work with. Try ExpressVPN, they do offer an easy-to-use application for Mac. Finally, after you try this guide out, let me know everything about your experience. Share it in the comment section below.
Related Posts


About The Author
Charles
Streaming gadgets geek. Interested in every little thing there is to know about bypassing regional restrictions. An avid believer in the right to protect online privacy. Charles has also reviewed plenty of VPN service providers and knows how to separate the good apples from the bad ones.

once you share connection, will the ps4 need to stay plugged in to your mac at all times in order to maintain vpn connection status?
Hello Thomas. Yeah, the PS4 needs to stay connected to the Mac.
“Share your connection from: [the L2TP VPN connection you just created]”…..
Not seeing this command in the box and unable to click on it.
“To computers using: check the box for Wi-Fi.”
Unable to click on this.